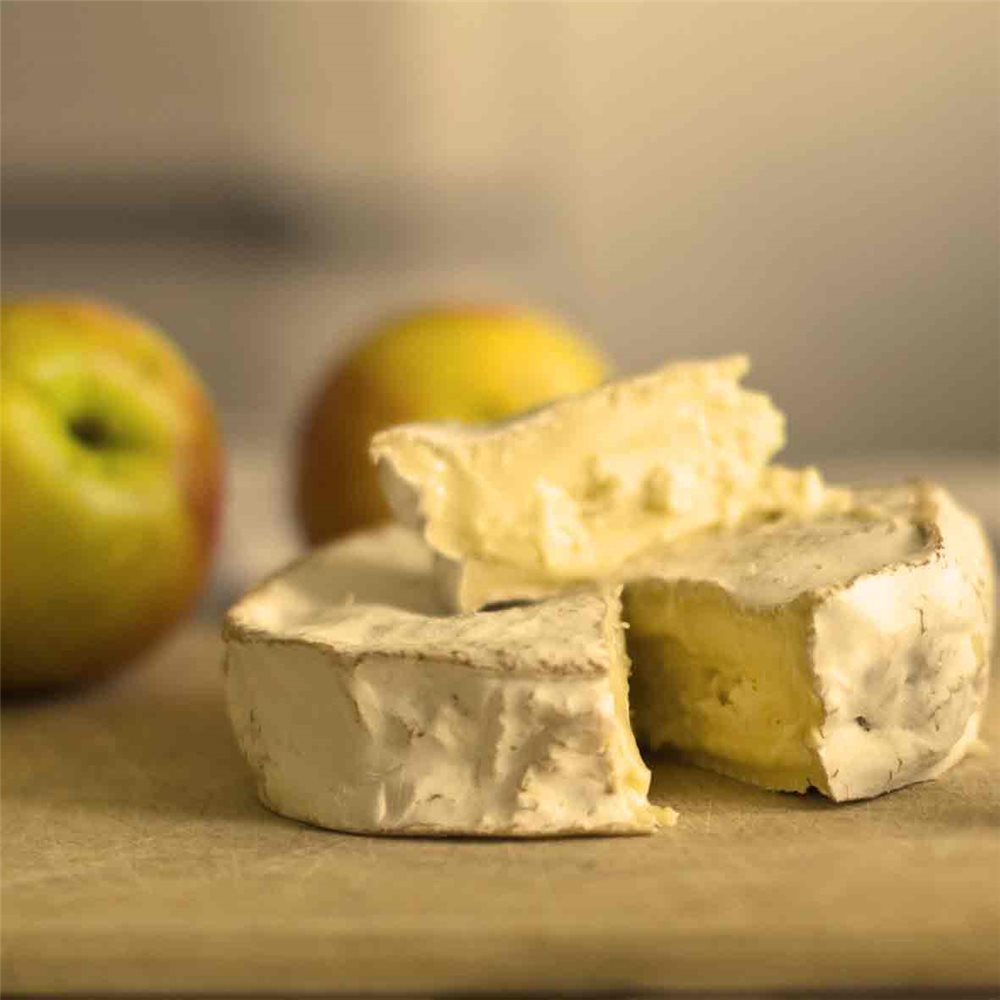
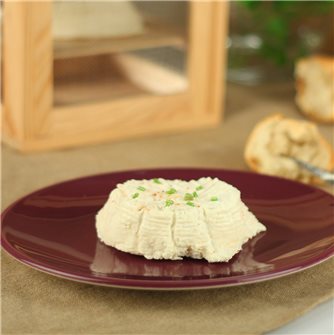
It is on all the cheese platters, THE camembert of course! You like this soft cheese with a bloomy rind and this inimitable taste, go for it!
Homemade, you will have the satisfaction of tasting your cheese. To do so follow the guide ...
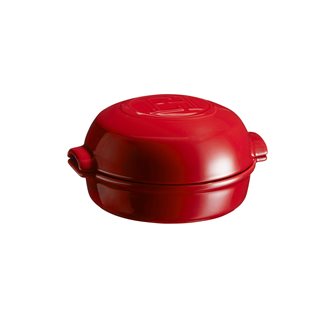
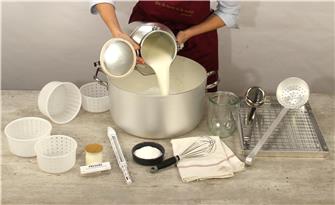
You will need as material: a Dutch oven, a ladle, a thermometer, cheese molds and maturing paper. Ingredients for 3 camemberts: 5 liters of raw milk, 1 dose of ferments and rennet and salt.
The essential steps:
Cheese is found on tables for lunch and dinner and also makes a delicious snack for the little cravings of the day. As for camembert, it is one of the 10 favorite cheeses of the French, it is a must. Homemade naturally, it's simply good!
Camembert is also a national emblem just like the baguette, it is one of the flagships of our gastronomy beyond our borders. To prepare it, the essential ingredient is of course milk. Camembert is made with raw milk, giving it all its aromas and texture.
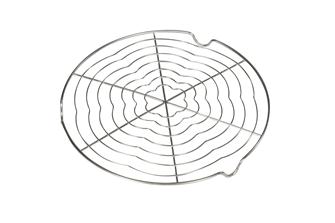
Cheese making requires only a few materials: a large Dutch oven , a ladle, cheese molds (faisselles) and a thermometer.
For 3 to 4 camemberts of approximately 200/250 g you will need:
5 liters of raw milk
1 dose of
ferments et rennet fine salt
How to proceed?
The production of your pie charts takes place over several days. And yes, good things always take a little time and patience.
Day # 1: maturation of the milk, renneting, cutting and molding
Pasteurize the raw milk by heating it, bringing it to 66 ° C to avoid any presence of unwanted germs. Then let it cool to 34 ° C, check the temperature with the thermometer.
When the temperature is reached, proceed with the inoculation by pouring in the dose of ferments and rennet. Gently mix everything for a good diffusion for several minutes.
The ferment will acidify the milk and affect the taste of your cheese.
The rennet will coagulate the milk to form the curd.
Cover with a clean cloth and let stand in a room between 22 and 25 ° C between 1:30 and 3 hours, depending on the setting of the curd. It must be firm enough to proceed to the next step.
Decaying
Before molding your cheeses, you must "decoup" it, that is to say slice it into cubes to fragment the curd and thus eliminate as much whey as possible. during its formation and improve drainage. Stir it gently and let it rest for 3 hours.
Put in the molds and draining
Place your cheese molds, for example, on a volette itself placed in a large dish with a high edge. During this entire step, whey will escape through the small holes in the faisselles, remember to empty the dish regularly. Do not let your cheeses soak in it.
Using the ladle, fill them completely with curds in successive layers. Cover with a clean cloth. Let them drain.
Day # 2: molding and draining
As soon as possible, turn over the camemberts, which are already well drained, then put them back in their mold. You have to be nimble, because the cheese is still quite soft ... it's a bit tricky. Let them rest again, still under a clean cloth.
At the very beginning of the afternoon, repeat the operation of turning the camemberts and always sheltered under a clean cloth, let them drip again.
Day # 3: demolding and salting
Salting
This step allows better conservation of the cheese and the development of its flavors.
In the early morning, take the cheeses out of the faisselles, salt each side of the top and replace them in their mold and leave to rest for half a day, still covered.
Then repeat the salting operation but on the other side and on the entire heel (all around the cheese). Then return to their mold, still well protected under a cloth.
Count 2.5 g of salt per camembert (for both sides and its periphery).
Day # 4: Drying
The next day, put your camemberts in the soaking or penetrant (drying) by taking them out of the dish and placing them on a rack in a box for a day always in a room at a temperature between 2 days so that the crust is homogeneous on both sides.
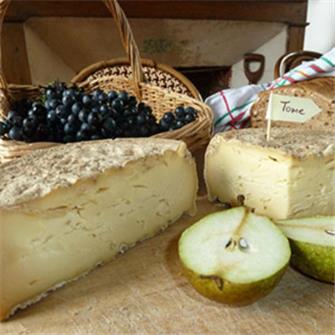
After 20 days of ripening, your camemberts will be soft and after more than 30 days they will be fully cooked with a more pronounced taste.
Aesthetically, your pie charts won't quite look like the ones you find in the store, like most foods that are processed at home. But the authentic taste will be there.
To taste it, you are spoiled for choice, with a good slice of bread, a salad or even roast in the oven with a few potatoes, a taste experience to try if you have not yet done so. !